Best Caulk & Tub Sealants for Bathrooms and Kitchens (2026)
Mold-resistant silicone, paintable acrylic, or kitchen-grade — five caulk picks for $5–$15 and how to know which one your job needs.
By Askento Editorial Team · 8 min read · Apr 25, 2026
General information only. This article may include AI-assisted content. While we aim for accuracy, verify important details before acting on them. Affiliate disclosure: This page may contain affiliate links. We may earn a commission at no extra cost to you.
This page contains affiliate links. We may earn a commission at no extra cost to you.
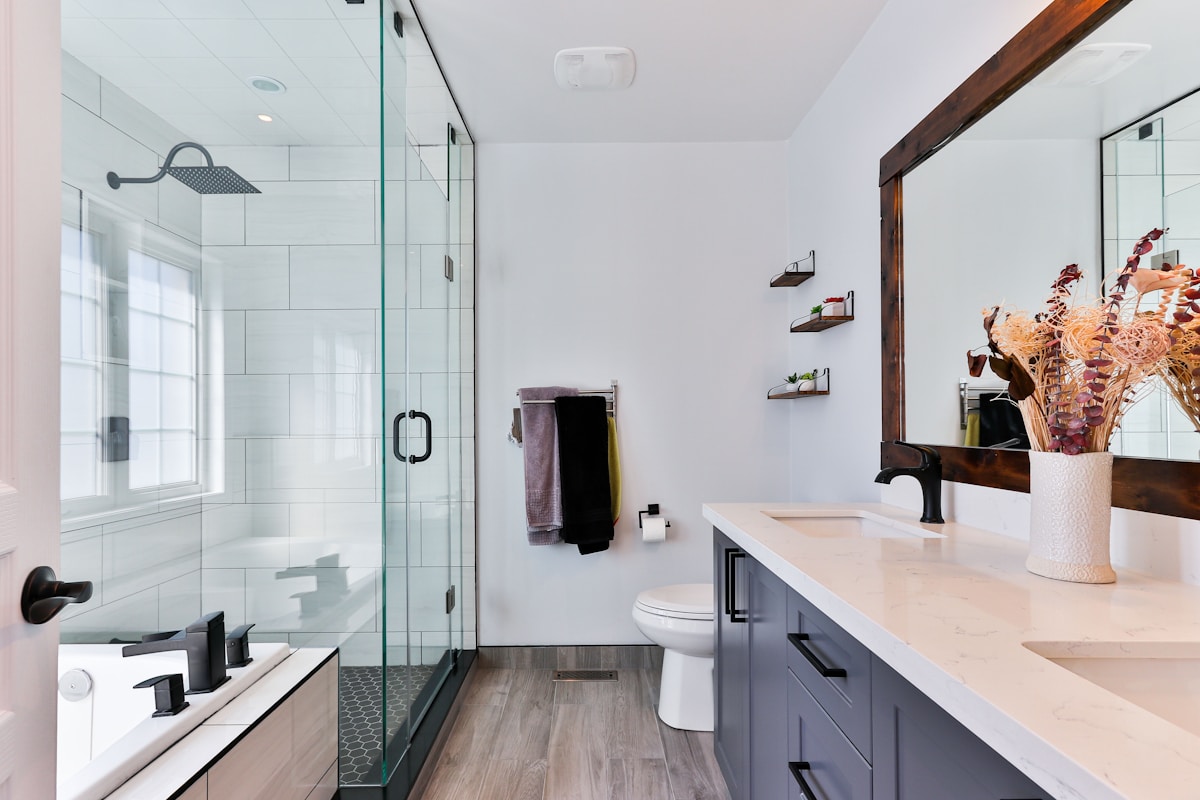
Caulk is one of those small home repairs where the wrong product costs you the whole job. The right tube of silicone seals a tub for 20 years; the wrong one peels and turns black within a season. Below: how to pick the right type for your job, and five well-reviewed picks under $15.
Pick the Right Type First
Before picking a brand, you need to know which type of caulk your job needs:
- 100% silicone — fully waterproof, flexible, can't be painted. Use around tubs, showers, sinks, toilets, and anywhere that gets wet.
- Acrylic-latex (paintable) — water-cleanup, paintable, easier to tool. Use for baseboards, trim, crown moulding, and any joint you'll paint over.
- Siliconised acrylic — the compromise. More flexible than pure acrylic but still paintable. Reasonable for bathroom walls that get painted.
- Polyurethane — strong and bonds to almost anything, but messy and overkill for most home jobs.
The other major distinction: mold-resistant vs not. For any caulk that will be in a bathroom, kitchen, or basement, only buy versions explicitly labelled "mold-resistant" or "kitchen and bath." These contain a fungicide additive that's the difference between caulk lasting a decade vs turning black in a year.
Quick Picks
| Use case | Pick | Approx. price | |----------|------|---------------| | Best overall — mold-resistant kitchen & bath | GE Silicone 2+ Kitchen & Bath | $8–$12 | | Best budget — mildew-resistant tub & tile | DAP Kwik Seal Plus | $5–$8 | | Best for showers and wet zones | Gorilla 100% Silicone Sealant | $8–$13 | | Best paintable for trim and baseboards | DAP Alex Plus acrylic-latex | $4–$7 | | Best caulk gun (don't skip this) | Newborn 250 dripless caulk gun | $10–$15 |
Detailed Picks
1. GE Silicone 2+ Kitchen & Bath — Best Overall
GE Silicone 2+ in the kitchen-and-bath formula is the default recommendation for any wet-area caulk job. 100% silicone, mold-resistant, available in clear, white, almond, and bronze.
Use it for: Tub perimeter, shower surround, sink-to-counter joints, toilet base, kitchen backsplash.
What it costs: $8–$12 per cartridge.
Why this one: GE has been making silicone sealants for half a century. The "2+" formula is rated for 30+ years of mold resistance and remains flexible — important because tubs flex slightly under load and rigid caulk cracks. The 10-year mold-free warranty on the label is genuine; it cures clear or white without yellowing.
Skip if: You need a paintable caulk — silicone of any brand can't take paint.
2. DAP Kwik Seal Plus — Best Budget Bathroom Caulk
DAP Kwik Seal Plus is a siliconised acrylic with mildew protection. Cleans up with water (unlike pure silicone, which needs solvent), tools easily with a wet finger, and costs about half what 100% silicone does.
Use it for: Quick bathroom or kitchen recaulking jobs where you don't need the 30-year durability of pure silicone — re-doing kitchen sink edges every 3–5 years is fine and Kwik Seal is easier to work with.
What it costs: $5–$8.
Why this one: Easier for first-time DIY users. The acrylic-silicone hybrid forgives mistakes that pure silicone doesn't — you can wipe it off and start over with a damp rag during the first 10 minutes. Pure silicone has to be removed mechanically once you've smeared it.
Skip if: It's a high-flex joint like the tub-to-floor seam, or a hot-water exposure zone — pure silicone holds up better long-term in those.
3. Gorilla 100% Silicone Sealant — Best for Showers
Gorilla's 100% silicone is fully waterproof immediately upon cure, mold/mildew/UV resistant, and bonds well to glass, metal, ceramic, and most plastics.
Use it for: Glass shower doors, frameless shower enclosures, exterior weather seals around windows, bath drain flanges.
What it costs: $8–$13.
Why this one: Gorilla's silicone is rated for total submersion (pools, aquariums) — overkill for a shower, but it tells you the waterproofing margin is huge. Cures clear, which is useful for glass-on-glass joints where you don't want a visible white line.
Honest caveat: All 100% silicones smell strongly of acetic acid (vinegar) for the first 24 hours of cure. Ventilate the bathroom well — open windows, run the fan.
4. DAP Alex Plus — Best Paintable for Trim and Baseboards
DAP Alex Plus acrylic-latex caulk is the standard paintable caulk for interior trim work. Water cleanup, paintable in 30 minutes, flexes enough to handle minor wood movement.
Use it for: Baseboards, door and window trim, crown moulding, any joint between trim and a painted wall.
What it costs: $4–$7.
Why this one: It's the cheapest acrylic-latex that does the job properly. Cheaper bargain-brand acrylics shrink as they cure, leaving a visible recess in the bead — Alex Plus is formulated to maintain its bead profile.
Skip if: It's a wet-area joint. Acrylic-latex is not waterproof — it'll soften and pull away if it's directly exposed to standing water or shower spray.
5. Newborn 250 Dripless Caulk Gun — The Tool That Makes Caulk Work
A dripless caulk gun is the cheapest upgrade that meaningfully improves the look of any caulk job. The dripless mechanism stops the cartridge from over-extruding when you release the trigger, which is what causes most beginner caulk lines to come out blobby and uneven.
Use it for: Every caulk job longer than a few inches.
What it costs: $10–$15.
Why this one: Newborn is the brand most pros use. The 250 model has a smooth-rod design (vs ratchet-rod on $5 guns) which gives better control over the bead. Lasts a decade with normal use.
Skip if: You only do tiny jobs — squeeze tubes are fine for a 6-inch line, but anything longer is faster and neater with a gun.
Get the fix before you call a plumber.
Free guides on drains, leaks, and common appliance fixes — delivered when something breaks.
No spam. Unsubscribe any time.
How to Apply Caulk That Looks Good
Most amateur caulk jobs look bad for one of three reasons: old caulk wasn't removed properly, the bead was too wide, or the bead wasn't tooled smooth. Here's the order:
-
Remove old caulk completely — score along both edges with a utility knife, pull strips out, scrape residue with a caulk removal tool. Clean the gap with rubbing alcohol and let it dry.
-
Tape both sides of the joint — painter's tape gives you a clean edge. Don't skip this; the tape is the difference between a "looks like a pro did it" line and an obviously DIY one.
-
Cut the cartridge tip at a 45° angle, opening just slightly larger than your gap. Smaller is better — you can always make a cut bigger but not smaller.
-
Run a continuous bead in one motion, moving steadily. Stopping mid-bead leaves a bump you'll see forever.
-
Tool the bead immediately with a wet finger or a caulk-finishing tool. One smooth pass — don't go back and forth.
-
Pull the tape while the caulk is still wet. Pull at a 45° angle away from the bead.
-
Don't touch it for 24 hours. No water, no humidity from a hot shower, nothing.
Common Mistakes to Avoid
Caulking over old caulk. It will fail within months. New caulk only bonds reliably to the substrate, not to old caulk residue.
Wrong product for the joint. Silicone in trim joints (won't take paint, looks terrible). Acrylic in shower joints (peels and gets mildewy fast). Match the type to the location.
Skipping the painter's tape. The 5 minutes of taping is what separates a clean caulk line from one that'll bug you every time you walk past.
Cutting the tip too big. A wide bead looks worse, uses more material, and is harder to tool smooth. Start small; cut bigger only if you actually need it.
Showering before 24 hours. Cures silicone curing partially under water doesn't fully bond — you'll see this within a year as the bead pulls away from the tile.
A Note on How These Picks Were Chosen
These picks are drawn from established brands that are widely stocked at hardware stores and consistently rated highly for their category on Amazon. We have not personally tested every product. If you find a comparable product from another reputable brand at a similar price, the buying guidance in the "Pick the Right Type First" section applies regardless of which brand you choose.
Related Articles
- How to fix a leaky faucet — same wet-area sealing principles
- How to remove bathroom mold — when bathroom mold is in the caulk itself
- How to clean grout without scrubbing forever — the other porous bathroom surface
- Best mold and mildew removers — pre-cleaning surfaces before caulking
- Best home repair tools for beginners — caulk gun, utility knife, and the basics
On this page
Browse topics